My internet access is limited. So I'm going to dump these photos of our makeover with little explanation. Pictures are worth a thousand words, right? The room isn't 100% but close and functional.
 |
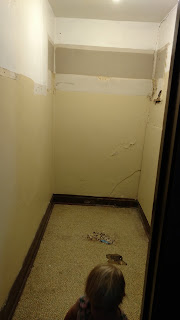
| Empty without shelves. Can't find a true before we emptied the room. |
 |
| Before- only removed linoeum |
 |
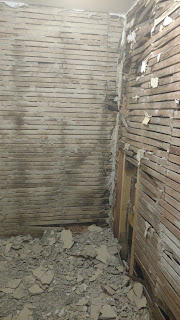
| Messy plaster mess |
 |
| Bathroom shared wall. White box is the mirror cupboard in the bathroom |
 |
| Discovered that the outside north wall is insulated with wood shavings. Wow! |
 |
| Packed in tight! Stayed in place after removing the lath |
 |
| Sub floor and plaster removed |
 |
| Dirty dusty job, removed rotting floor boards. Installed new thick plywood sub floor |
 |
| My very handy Father-in-law, saved the weekend with his skills |
 |
| Plumbing in the crawl space, not fun. |
 |
| New studs |
 |
| Add caption |
 |
| Drywall, blue for water protection. Also note the dryer vent hole. |
 |
| Helping Dad! |
 |
| Mudding and taping |
 |
| TaDa! Thus is how the room looks today. Just needs a final coat of paint (it has been primed). Add the trim and put back the door. |


